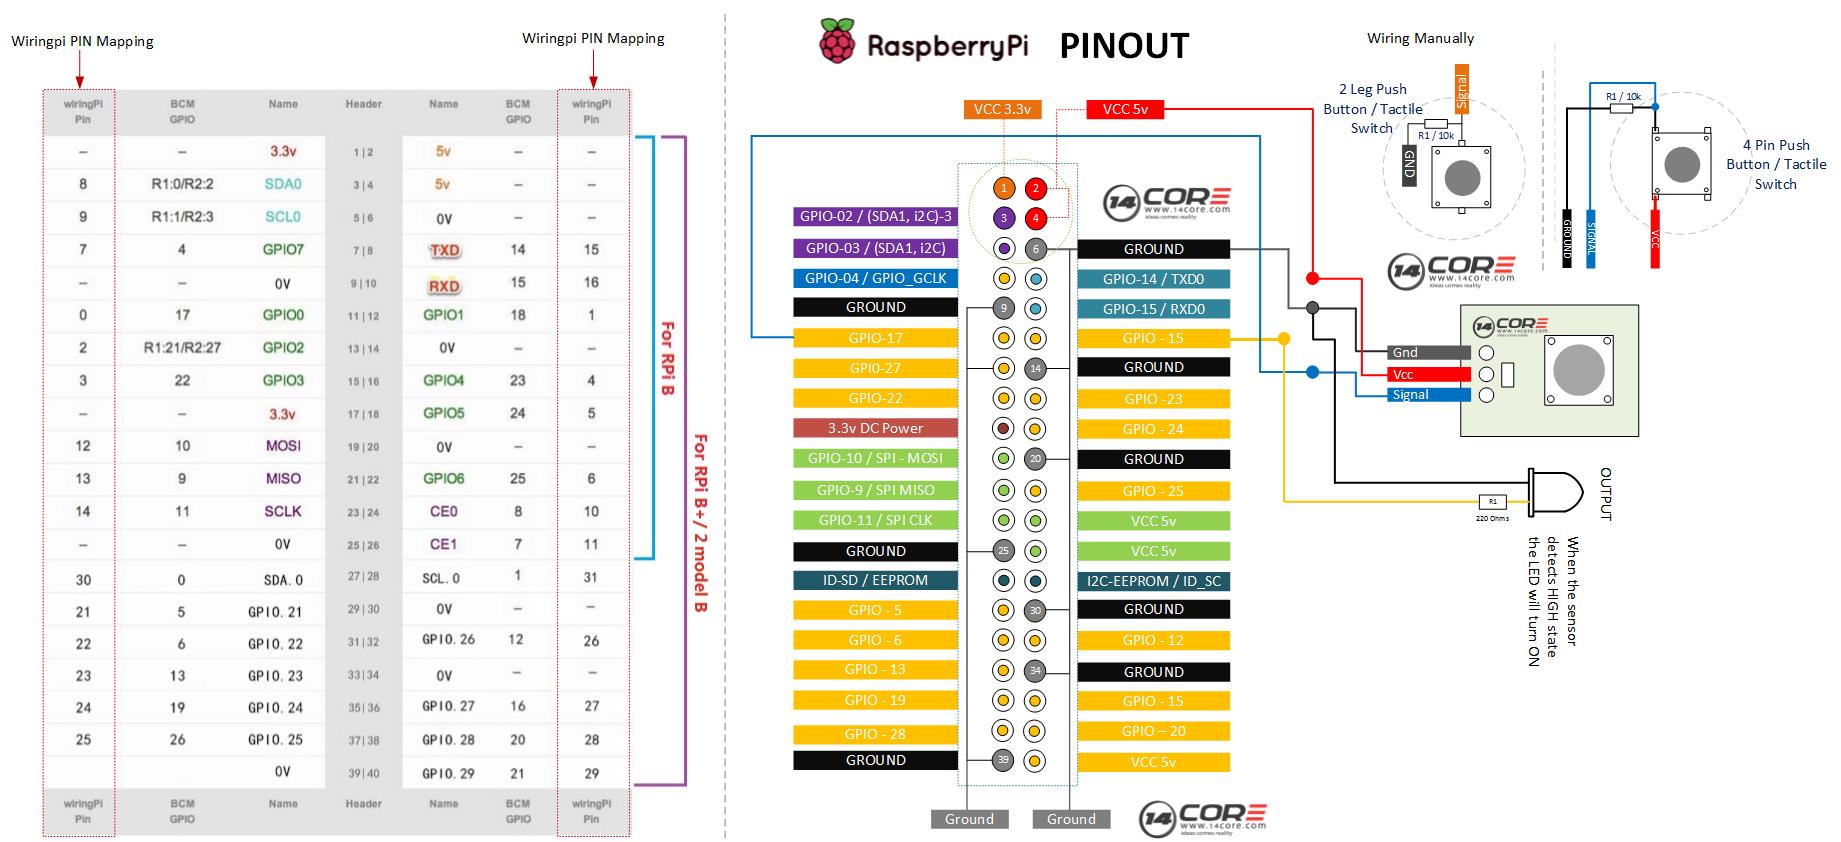
Push buttons are simple switch mechanism for controlling some aspect of a machine or a process. Buttons are typically made out of plastics, metal, carbons or rubber. The surface is usually flat or shaped to accommodate the human finger or hand, to that it easy to depressed or press. Buttons are most often biased switch through even many un-biased button due to physical characteristics. Push buttons required a spring or a rubber to return their state. As you can see the illustration below the push button as assigned as an input to our raspberry pi so when the push button is pressed the GPIO will change to LOW LEVEL or 0v. If the GPIO turns into LOW LEVEL means the button is pressed then we can run the corresponding code. In this experiment, we will show a char or a string on our output while the LED will turn to high state.
Required Components
- Raspberry Pi / Banana Pi / Orange Pi (If your using Banana Pi or Orange Pi See first the GPIO Pins)
- Push Buttons / Push Button Module
- 10k Resistor (Optional)
- Solder-less breadboard
- Jumper Wire / DuPont Wire
Wiring Diagram
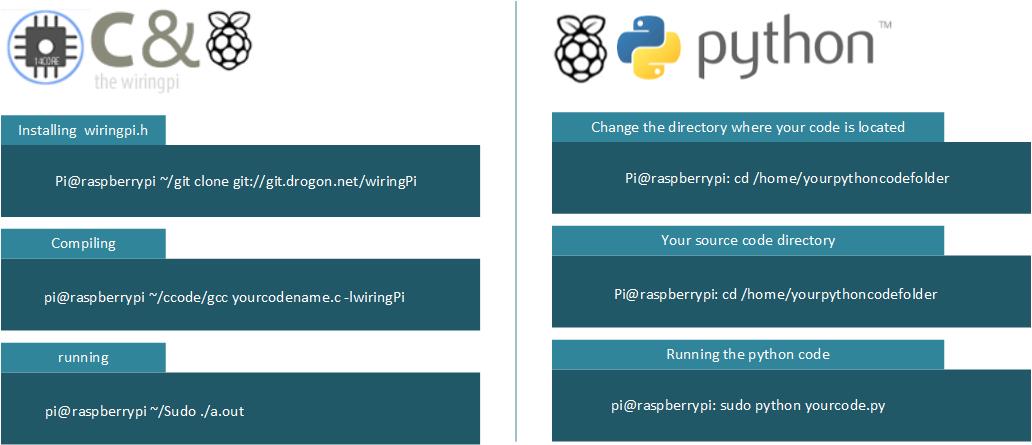
C Source Code
Python Source Code


